How to Program BMW DME Control Unit with ICOM ISTA-P
Programming DME by BMW Software can be performed with BMW ICOM A2/ICOM Next ISTA-P or Autohex II diagnostic scan tool. The following sequence applies to both ISTA-P and Autohex II scan tool.
- Search the fault memory via ”Short test” – process any faults stored – finally clear the fault memory with ”Quick delete” – no faults must be stored in the control units which are to be programmed.
- The battery must be sufficiently charged – install a charger before commencing programming.
- Load BMW Software with the current programming software (CD V 59.0 or later).
- Connect up the diagnostic connection and switch on the ignition.
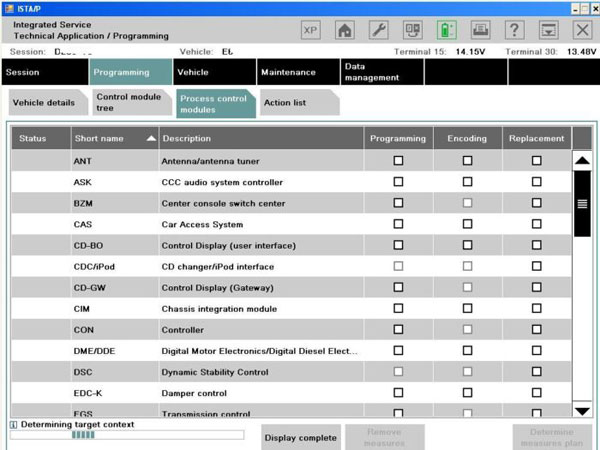
- Select Programming/Encoding or Programming check the version of the program which is loaded.
- Select ”DME programming”: Enter the date and confirm with ”Y” (yes) – then select ”Programming DME”.
- Select ”Replace control unit”.
- Select ”Determine basic control unit”.
- The question ”Is the defective control unit still installed?” must be confirmed with ”N” (no) .
- Enter ”Part number of basic control unit” and confirm with ”Y” (yes).
”Part number of basic control unit” to be entered: 1 429 884 - Enter the 17-digit vehicle identification number (WBA ……………) and confirm with ”Y” (yes).
- Enter ”Part number of programmed control unit” and confirm with ”Y” (yes). ”Part number of programmed control unit” to be entered: please refer to Service Information bulletin.
- In this case, the list of replacement control units does not need to be printed out. To continue programming, press the arrow pointing to the left BMW Software
- Select ”Programming basic control unit”.
- Enter the last 7 digits of the vehicle identification number and confirm with ”Y” (yes).
- Enter ”km/miles reading” and confirm with ”Y” (yes).
- Confirm ”Start automatic programming?” with ”Y” (yes).
- The message ”Programming completed…” appears when the programming has been successfully concluded.
- The adaptation values should then be deleted. To do this, switch the ignition off for 10 seconds, switch the ignition on and confirm Delete adaptation values” with ”Y” (yes).
- Print out a new control unit label with the DIS and attach it to the control unit, next to the existing label. The old label should be crossed out to indicate it is no longer valid.
- Start the engine, and ensure it is turning over smoothly. Carry out a test drive so that the control unit can ”learn” the adaptation values. The idling speed may be slightly high during the adaptation phase, but it will soon return to normal.
- A ”Short test” must be conducted again via the diagnosis program. Stored faults should be deleted.